How to Put On a Bra Correctly: The Scoop and Swoop Method
To put on a bra correctly: slip your arms through the straps, lean forward so your breasts fall into the cups, and fasten the band on the loosest hook (on a new bra). Then scoop and swoop: reach into each cup with the opposite hand and bring breast tissue from under your arm and below into the cup. Stand up, settle the underwire into the breast fold, make sure the band is level all the way round, and adjust the straps so they rest without digging in. The band, not the straps, should do most of the supporting.
Jump to a Section
Putting On a Bra at a Glance
| Attribute | Detail |
|---|---|
| Key technique | Scoop and swoop: bring all tissue from the side and below into the cup |
| Lean forward? | Yes, so breasts settle fully into the cups before fastening |
| Which hook (new bra) | Loosest. Move tighter as the band relaxes over time |
| Band position | Level all round, low and firm on the back |
| Strap tension | Resting on the shoulder, not digging in: 2 fingers should slide under |
| Underwire position | Sits in the breast fold, behind all breast tissue |
| Takes | About 60 seconds once practised |
Why Technique Matters as Much as Size
A bra is designed around a simple assumption: all of your breast tissue is inside the cup, the wire sits in the fold where your breast meets your ribcage, and the band sits level and firm around your torso. If any of those is off, the bra cannot do its job. Tissue left outside the cup, usually under the arm or below the wire, makes the cup look too small, pushes the wire onto breast tissue and creates the bulge people mistake for “back fat” or “side boob”. A band fastened at an angle rides up and lets the cups tip forward.
This is why fitters spend as much time teaching technique as measuring. Many people who think they need a bigger cup simply need to get all of their tissue into the cup they already have, and some find that once they do, the cup is actually too small and they need to go up. Either way, technique comes first: you cannot judge the fit of a bra that is not on properly. Once it is on correctly, check your size with the bra size calculator and compare.
Breast tissue extends further than most people think: toward the armpit (the “tail” of the breast) and down into the fold. Scooping brings that tissue forward, which is why a correctly put-on bra often looks noticeably fuller and more lifted.
How to Put On a Bra: 7 Steps
Start with straps a little loose, so you can set them correctly at the end.
Slide the straps onto your shoulders with the band hanging loosely in front.
Bend forward about 45–90 degrees so your breasts fall naturally into the cups.
Fasten on the loosest hook for a new bra. If you cannot reach behind, fasten it at the front and rotate (see below).
Reach into the left cup with your right hand, and sweep tissue from under your arm and below the wire up into the cup. Repeat on the other side.
Run a finger along each wire to make sure it sits in the breast fold, not on breast tissue.
Pull the back of the band down until it is level with the front, then tighten the straps until they rest without digging in.
Scoop and swoop
The Scoop and Swoop, Explained
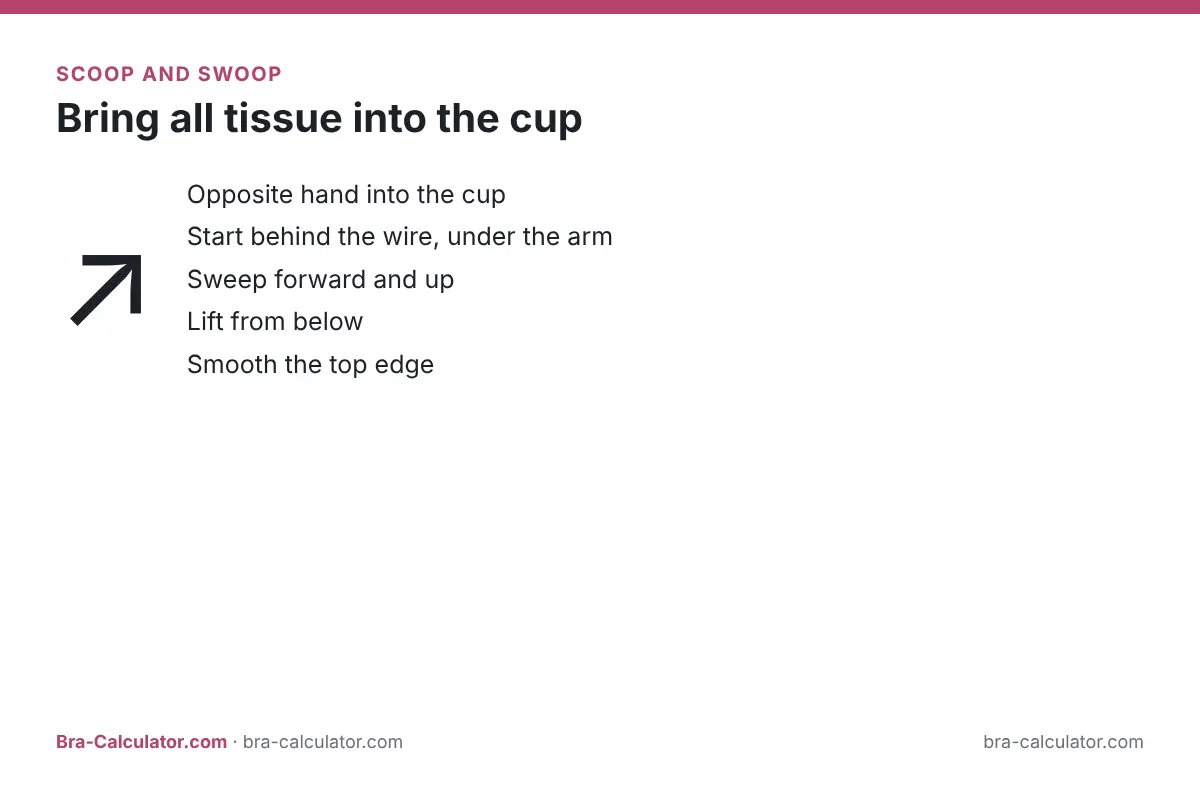
The scoop and swoop is the single most important part of putting on a bra. Do it with the bra already fastened and while leaning slightly forward:
Right hand into the left cup, left hand into the right. It gives you the best angle to reach under the arm.
Place your fingers flat against your side, just behind the end of the wire under your arm.
Gently sweep the tissue forward and up into the cup, as if gathering it toward the centre.
Reach under the bottom of the cup and lift the tissue so it sits fully above the wire.
Smooth the top edge of the cup flat against the breast. There should be no gap and no cutting in.
Do it every time you put on an underwire or structured bra, and again after a few hours if you have been active, because tissue can migrate. It is less important with soft bralettes, but it still helps them sit more evenly.
Fastening at the Front and Rotating: Is It OK?
Many people fasten their bra at the front, around the waist, and then rotate it into place. It is a perfectly reasonable method, especially with limited shoulder mobility. The only downsides are extra wear on the band from twisting, which can snag lace, and the temptation to fasten tighter than you would at the back. If you use it:
Hooks in front of you, where you can see them.
Turn the band around your body without stretching it.
Then put your arms through the straps.
The scoop step is still essential.
If reaching behind you is difficult every day, a front-closure bra may be easier. See our guide to front-closure bras, which compares hook, zip and clasp styles.
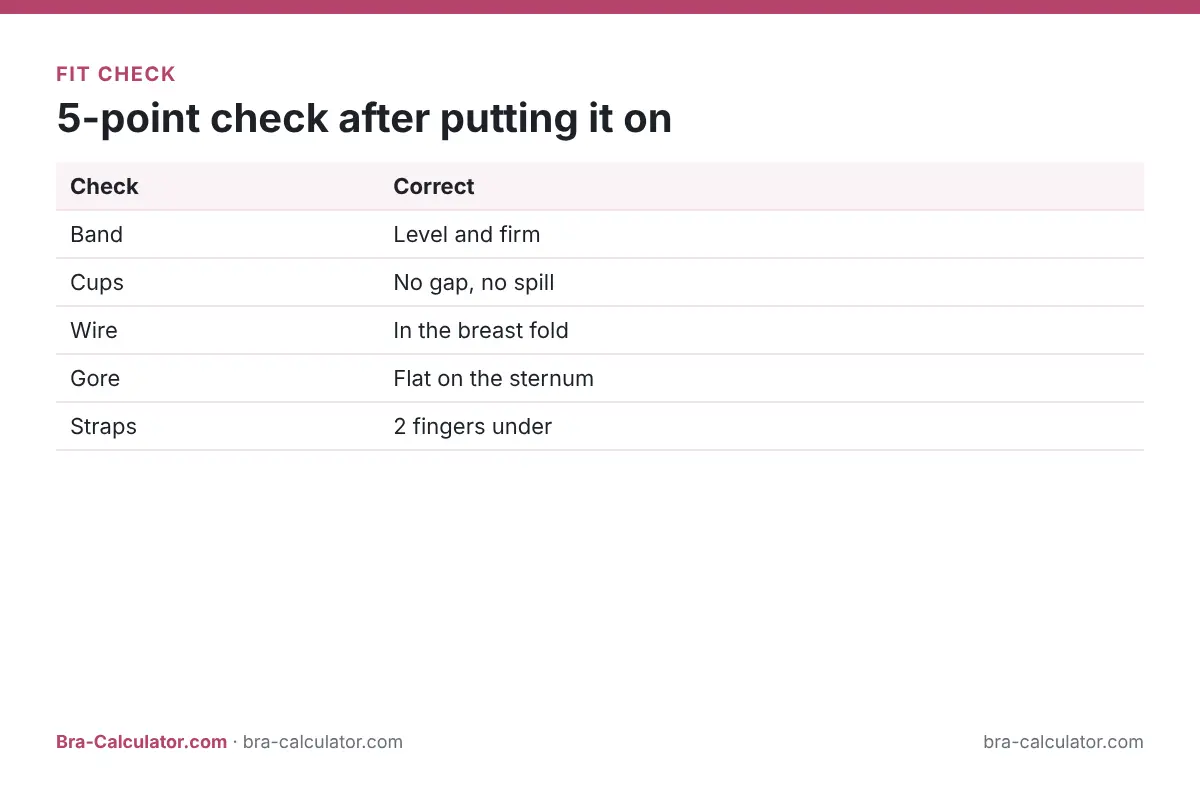
The 5-Point Fit Check After Putting It On
| Check | Correct | Problem → fix |
|---|---|---|
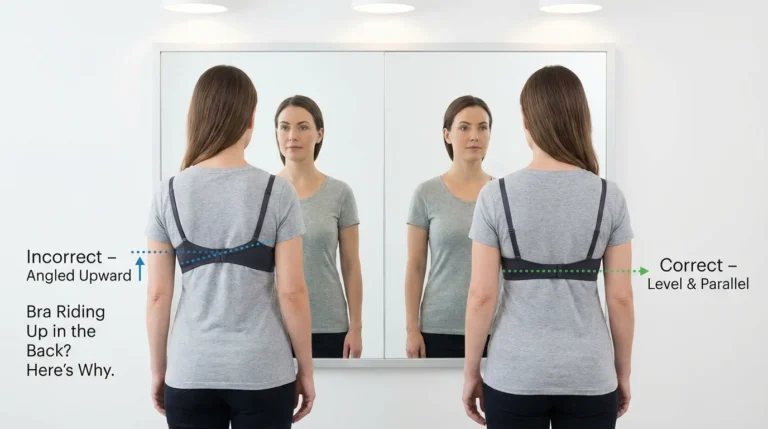
| Band | Level all round, firm; 2 fingers fit under the back | Rides up → band too loose; try one band down (band rides up) |
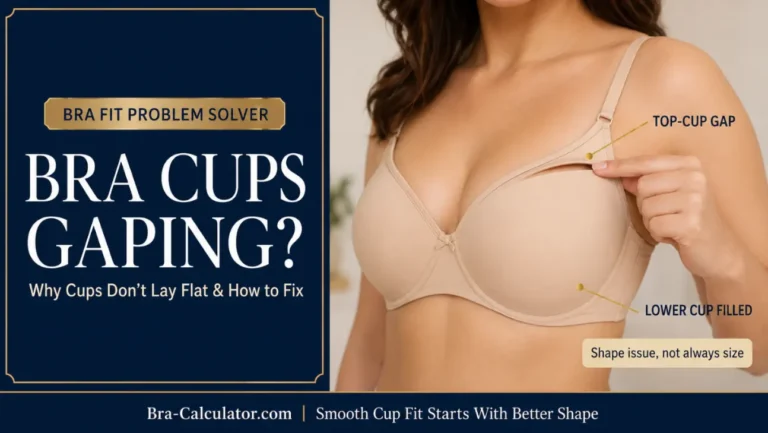
| Cups | Smooth, no gaping, no spillage | Spillage → cup too small; gap → cup too big or wrong shape (cup gaping) |
| Wire | Sits in the fold, behind tissue, flat on ribs | On tissue → cup too small (wire on tissue) |
| Centre gore | Lies flat on the sternum | Lifts off → cup too small or wrong shape (gore not flat) |
| Straps | Stay put, no digging | Dig in → band too loose (straps digging in) |
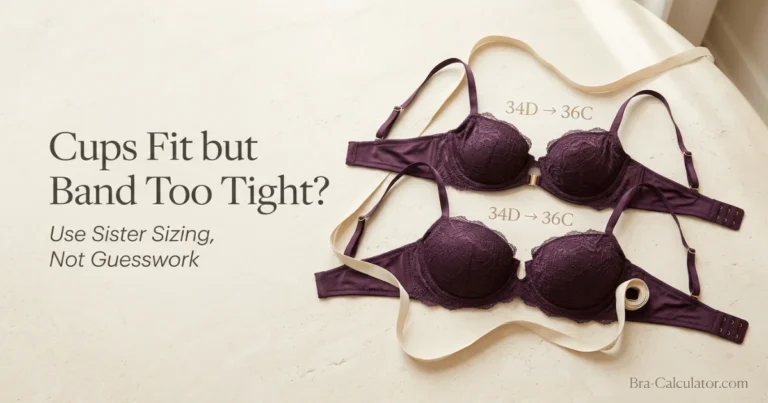
If more than one check fails after a careful scoop and swoop, the size is probably wrong. The sister size calculator shows the sizes that keep the same cup volume with a tighter or looser band. That is usually the next thing to try.
Bra fit check
Which Hook Should You Use?
A new bra should fit firmly on the loosest hook. Over months of wear, the elastic relaxes and you move to the middle, then the tightest hook, keeping the same firmness throughout the bra’s life. If a new bra only feels firm on the tightest hook, the band is too big, and it will be loose within weeks. Go down a band size and up a cup to keep the volume.
| Bra age | Hook | If it feels loose |
|---|---|---|
| New | Loosest | Band too big: go one band down, one cup up |
| A few months | Middle | Normal: the elastic is relaxing as expected |
| Older | Tightest | Normal; replace when loose even here |
The exception is temporary changes. During your period, pregnancy, or on hot days when you feel slightly swollen, using a looser hook is completely fine. See band too tight if your band feels uncomfortable on the loosest hook.
How Tight Should Bra Straps Be?
Straps are there to keep the cups in place against your chest, not to hold up your breasts. That job belongs to the band. Adjust them so they lie flat on your shoulders and you can slide two fingers under each strap at the top. If you have to tighten the straps hard to get lift, the band is too loose. Tighten the band, or go down a band size, and loosen the straps.
Re-check strap length every few weeks, because strap elastic relaxes too. If your straps slip, see straps falling off; if they leave grooves, see straps digging in.
Technique by Bra Type
| Bra type | What changes |
|---|---|
| Underwire | Full scoop and swoop; settle each wire into the fold |
| Wireless / soft cup | Scoop gently; make sure the band sits low and level |
| Sports bra (pull-on) | Step in or pull over; then lean and adjust tissue inside the cups |
| Strapless | Fasten on the loosest hook; pull the band down at the back; scoop well because there are no straps to help |
| Front-closure | Lean forward, cup the breasts, then close at the centre |
| Nursing | Fasten the clips before putting on; check that both cups sit evenly |
Strapless bras depend on technique more than any other style. Our strapless bra size calculator explains why many people need a firmer band for strapless.
Tips for Limited Mobility, Arthritis or After Surgery
Limited shoulder movement
Fasten at the front and rotate, or choose a front-closure bra. Step-in pull-on styles avoid reaching altogether.
Front-closure brasArthritis or weak grip
Larger hooks, magnetic or zip front closures, and stretchy pull-on bras are easier than small hook-and-eye tape.
Front zipHealing chest or arm
Follow your surgical team’s advice; soft front-fastening post-surgical bras are usually recommended at first.
Mastectomy brasChanging size and tenderness
Stretchy wire-free bras with extra hook columns; fasten on the loosest hook as you grow.
Maternity brasAn occupational therapist can also suggest dressing aids if fastening a bra has become difficult. Small changes in technique or bra style often make dressing independent and comfortable again.
How to Take a Bra Off Without Damaging It
How you take a bra off affects how long it lasts. Always unhook the band rather than pulling the bra over your head or sliding it down. Pulling stretches the band and straps beyond their normal range and wears out the elastic quickly. Unfasten all the hooks, slide the straps off one at a time, and lay the bra flat or nest it with its partner rather than dropping it in a heap.
Give each bra at least a day off between wears so the elastic can recover. Wash everyday bras every 2–3 wears in cool water and always air-dry. Heat is the main cause of a stretched-out band.
Signs Your Technique Is Working
When the bra is on correctly, a few things change that you can see and feel straight away. The breasts sit higher and further forward. The underwire is no longer felt on breast tissue at the sides. The band feels firm but comfortable and stays level when you raise your arms, and the straps feel almost weightless. Under a fitted T-shirt the outline is smooth, with no ridge at the top of the cup and no bulge under the arm.
If you have worn bras without scooping for years, the difference can be surprising. Many people find their usual cup now feels too small once all the tissue is inside it. That is not the bra shrinking; it is the cup finally being asked to hold everything it was meant to. If that happens, go up a cup on the same band and re-check. Our breast shapes guide also explains why some shapes need more scooping than others: soft, wide-rooted and east-west breasts in particular have a lot of tissue that drifts toward the armpit.
Common Mistakes When Putting On a Bra
Tissue stays outside the cup.
Side tissue sits under the arm and the wire lands on breast tissue.
There is no room left as the band relaxes.
The band slides up, the cups tip and the straps take over.
The straps do the band’s job and dig in.
Tissue moves during the day.
Related guides
Frequently Asked Questions
Lean forward, fasten the band on the loosest hook, then scoop and swoop to bring all tissue into the cups. Stand up, settle the wire in the breast fold, level the band and adjust the straps.
A technique where you reach into each cup with the opposite hand and sweep breast tissue from under the arm and below the wire up into the cup, so all tissue is inside the bra.
Yes. Leaning forward lets the breasts fall fully into the cups before you fasten and adjust.
No. It is fine, especially with limited shoulder mobility. Rotate gently and still do the scoop and swoop.
The loosest. As the band relaxes over time, move to tighter hooks.
Tight enough to keep the cups in place, loose enough to slide two fingers under. If you need tight straps for lift, the band is too loose.
The band is too loose, or it was fastened higher at the back than the front. Level it, and if it still rides up, go down a band size.
Tissue may not be fully in the cup. Scoop and swoop first. If it still spills, the cup is too small.
Technique done; now check the size
If the bra still does not fit after a careful scoop and swoop, measure in two minutes.